
In this article, we will review how to export/import project section items to/from the CSV file.
For this purpose, we will be using export and import options that are available for all sections except Team, Schedule, Details, and Statuses, as they do not have a table view. Only the items from the sections that have a table view can be copied over.
The items from the project section will be exported to the CSV file format and then this file can be edited and used to import the information from the CSV file to the project section of the required project.
This functionality is available for the Portfolio sections as well, but we will review the flow on the example of the Project sections.
Users who have permission to view projects can only export the information from the project section to the CSV file format. To be able to import this information to a different project, users should have permission to edit the projects.
Data that was synchronized from the external systems can not be copied from one project section to another. Also, if data imported from external systems is edited in the CSV file and then imported back to the PPM Express project, these changes will be ignored. Only changes made to the items created manually in PPM Express will be applied.
Export to CSV
To copy the items from the project section of one project to another one, perform the export to CSV first following the steps below:
1. Open the Project dashboard where you want to copy the items.
2. Navigate to the required project section and select the items you would like to copy over (Key Dates as an example).
If you select the timeline view that is available for the Key Dates section, only the fields included in the timeline view and all system-required fields will be exported to the CSV file. If you need to include more fields in the CSV file, you must first add these fields to the project section view via the Configure Columns menu.

3. As the required items are selected, click the Export to CSV option to export the items to the CSV file.

4. Open the CSV file and check or edit the information there as required.
Importing from CSV
If you need to edit the values in the CSV file, you should preserve the format used in the columns, as a different format is not supported. For example, if the value is provided as 'At Risk' and will be changed to 'AT RISK' or 'at risk', the changes will not be applied.
When importing dates from the CSV file, the format can be according to the region selected on the Tenant Settings page or an international format (YYYY-MM-DD).
The items are found by UIDs and updated accordingly. If the UID is deleted from the CSV file or updated there, new items will be created in PPM Express when importing data from this CSV file. If new items are created in the CSV file, the UID field should be left empty, it will be added automatically on importing new items to PPM Express.
If the auto-calculation of Statuses is enabled for your PPM Express tenant, the values for the status field may be changed when importing items to PPM Express, they will be auto-calculated and some values provided manually can be changed.
Also, values provided manually in the CSV file for the Due Date field can be ignored and calculated automatically when importing items to PPM Express from the CSV file, according to the Start Date and Duration field values (these fields are auto-calculated in PPM Express).
If any invalid data is provided in the CSV file, it will be ignored when importing to PPM Express.
To import data from the CSV file to PPM Express, perform the following:
1. Open the Project dashboard to which you want to import these items.
2. Navigate to the required section. If it does not have any items yet, you may click the Import option at once to start importing the data.
If you already have items for this section, select the Import Key Dates option from the options panel.

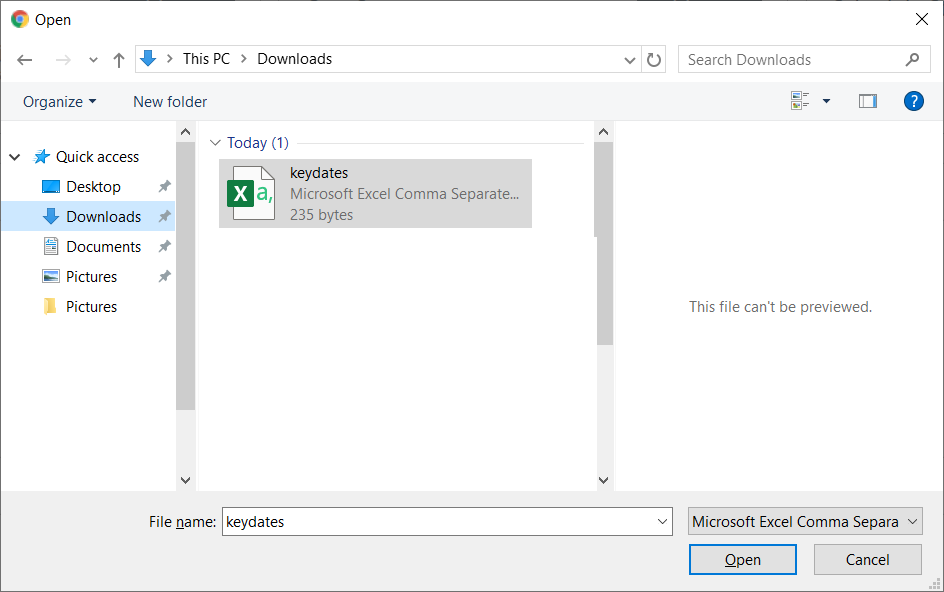
3. Select the required file from your PC and click Open.
4. The items will be imported to the project section at once.
The same CSV file can be re-used to copy the items to the sections of other projects within PPM Express.