
In this article, we will review how to export/import Project tasks to/from a CSV file.
For this purpose, we will be using export and import options. The Project tasks will be exported to the CSV file format, and then this file can be used to edit and import the information from the CSV file to the Project tasks page of the required Project.
This functionality helps avoid manual work and copying tasks that are similar across different Projects, or editing information faster in the Excel file and importing the changes back into PPM Express.
Calendar exceptions (such as weekends, holidays, or shortened working days) affect task scheduling in PPM Express.
Please note that when a task is copied or imported after an exception has been added to the calendar, the task dates will automatically shift according to the exception rules. However, if a task was imported before the exception was added, the task dates will not be updated automatically. In this case, task dates remain unchanged unless adjusted manually.
To ensure that calendar exceptions are correctly applied to tasks, we recommend the following flow:
- Configure your tenant calendar, including all required exceptions.
- Copy/import new tasks.
By following this sequence, all existing exceptions will be taken into account during task scheduling.
If exceptions were added after tasks were imported, tasks will not automatically update. In this case, we recommend deleting the imported task and repeating the copy/import process to ensure exceptions are applied.
To copy the Project tasks of one Project to another one, perform the following:
1. Open the Project Details page of the Project where you would like to copy the tasks.
2. Navigate to the Project tasks page, PPM Express tasks section.
3. Select the tasks that you would like to copy over.

Sub-tasks are not supported for creating and importing into the CSV file. If the hierarchy is opened, the whole task and sub-task tree will be exported to the CSV file. If the tasks with sub-tasks are imported to the same Project, the existing hierarchy will be preserved, but newly created tasks will appear as simple tasks. If the tasks with sub-tasks are imported to a new PPM Express Project, they will appear as a plain list of tasks without the hierarchy preserved.
Only those fields that are included in the Project task view and default fields (Start Date, Due Date, Progress, Group, Predecessor) will be exported to the CSV file. If you need to include more fields in the CSV file, adding these fields to the view is required; the necessary view should be selected when exporting tasks.
4. As the required tasks are selected, click the Export to CSV option to export them to the CSV file.

5. Open the CSV file and check or edit the information there as required.
If editing the values in the CSV file, it is required to preserve the format used in the columns, as a different format is not supported. For example, if the value is provided as 'At Risk' and will be changed to 'AT RISK' or 'at risk', the changes will not be applied.
When importing dates from the CSV file, the format can be according to the region selected on the Tenant Settings page or an international format (YYYY-MM-DD). Task exports to CSV include both dates and times, following your regional settings.
The tasks are found by UIDs and updated accordingly. If the UID is deleted from the CSV file or updated there, new tasks will be created in PPM Express when importing data from this CSV file. If new tasks are created in the CSV file, the UID field should be left empty, it will be added automatically on importing these tasks to PPM Express.
If the auto-calculation of Statuses is enabled for your PPM Express tenant, the values for the status field may be changed when importing items to PPM Express; they will be auto-calculated, and some values provided manually can be changed.
Also, values provided manually in the CSV file for the Due Date field can be ignored and calculated automatically when importing items to PPM Express from the CSV file, according to the Start Date and Duration field values (these fields are auto-calculated in PPM Express).
If any invalid data is provided in the CSV file, it will be ignored when importing to PPM Express.
6. Open the Project task page of the project where you would like to import these tasks.
7. Navigate to the Tasks section. Click Actions -> Import from CSV.

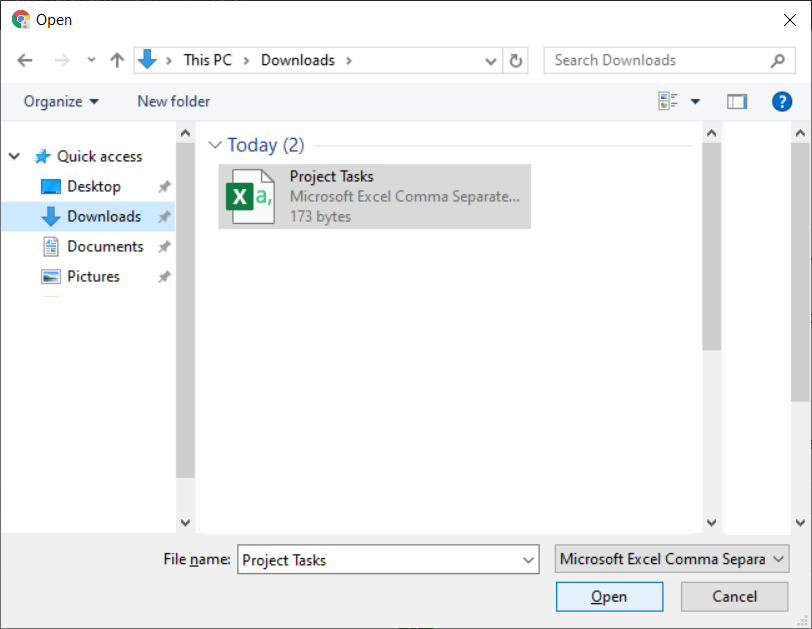
8. Select the required CSV file where the tasks were exported on your PC and click Open.
The tasks will be imported to the PPM Express tasks section at once.
The same CSV file can be reused to copy the tasks of other Projects within PPM Express.
The task hierarchy will not be preserved on importing to a new Project; all tasks will appear as a plain list of tasks.