
In this article, we will review how to publish Projects from Project Desktop client to PPM Express.
When the PPM Express Project Publisher is installed and connected to PPM Express, Projects from .mpp files can be published to existing PPM Express Projects or new Projects can be created in PPM Express. When the Project is published, a separate task page is created in the PPM Express Project with the tasks, milestones, and Resources appear in the Team project section.
This functionality is great for companies who use Project Desktop client on the work and Project management level and need to get a bigger picture view of all Projects from Project Desktop in one place, PPM Express.
To publish the Project, perform the following:
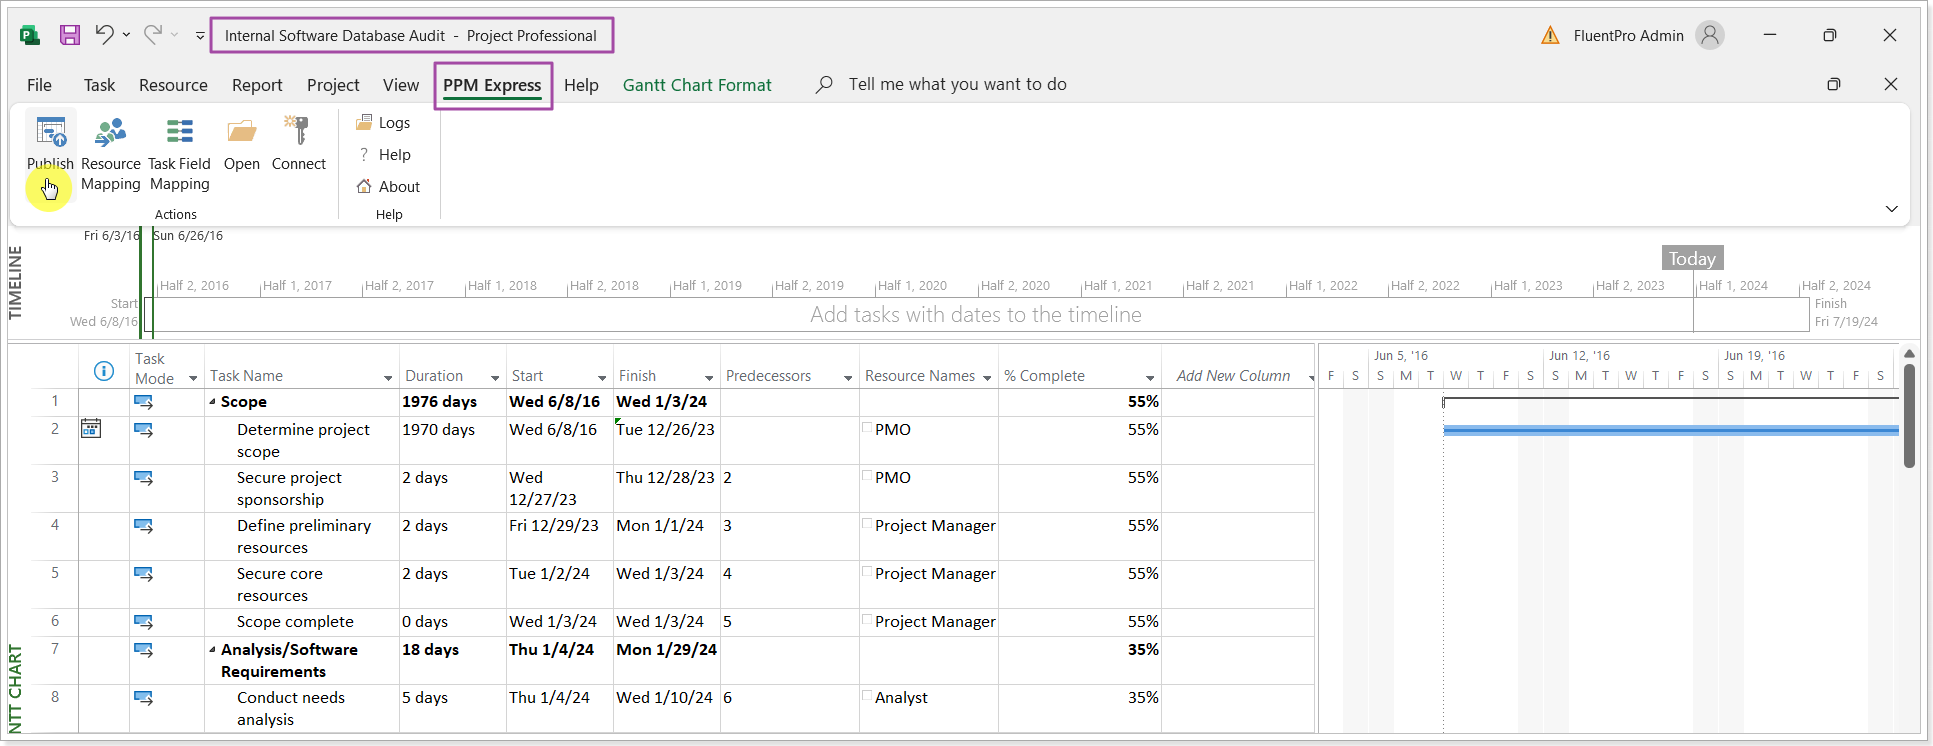
1. Open Project Desktop where the Project Publisher is installed and connected to PPM Express.
If you have a Project created with Project Desktop that needs to be published to PPM Express, open the .mpp file of the required Project.
Also, you can open an empty file and create a Project from scratch that will be linked to PPM Express. The steps of publishing the existing and newly created Projects are the same.
As an example, we will take an existing Project.
2. Click on the PPM Express tab -> Publish.
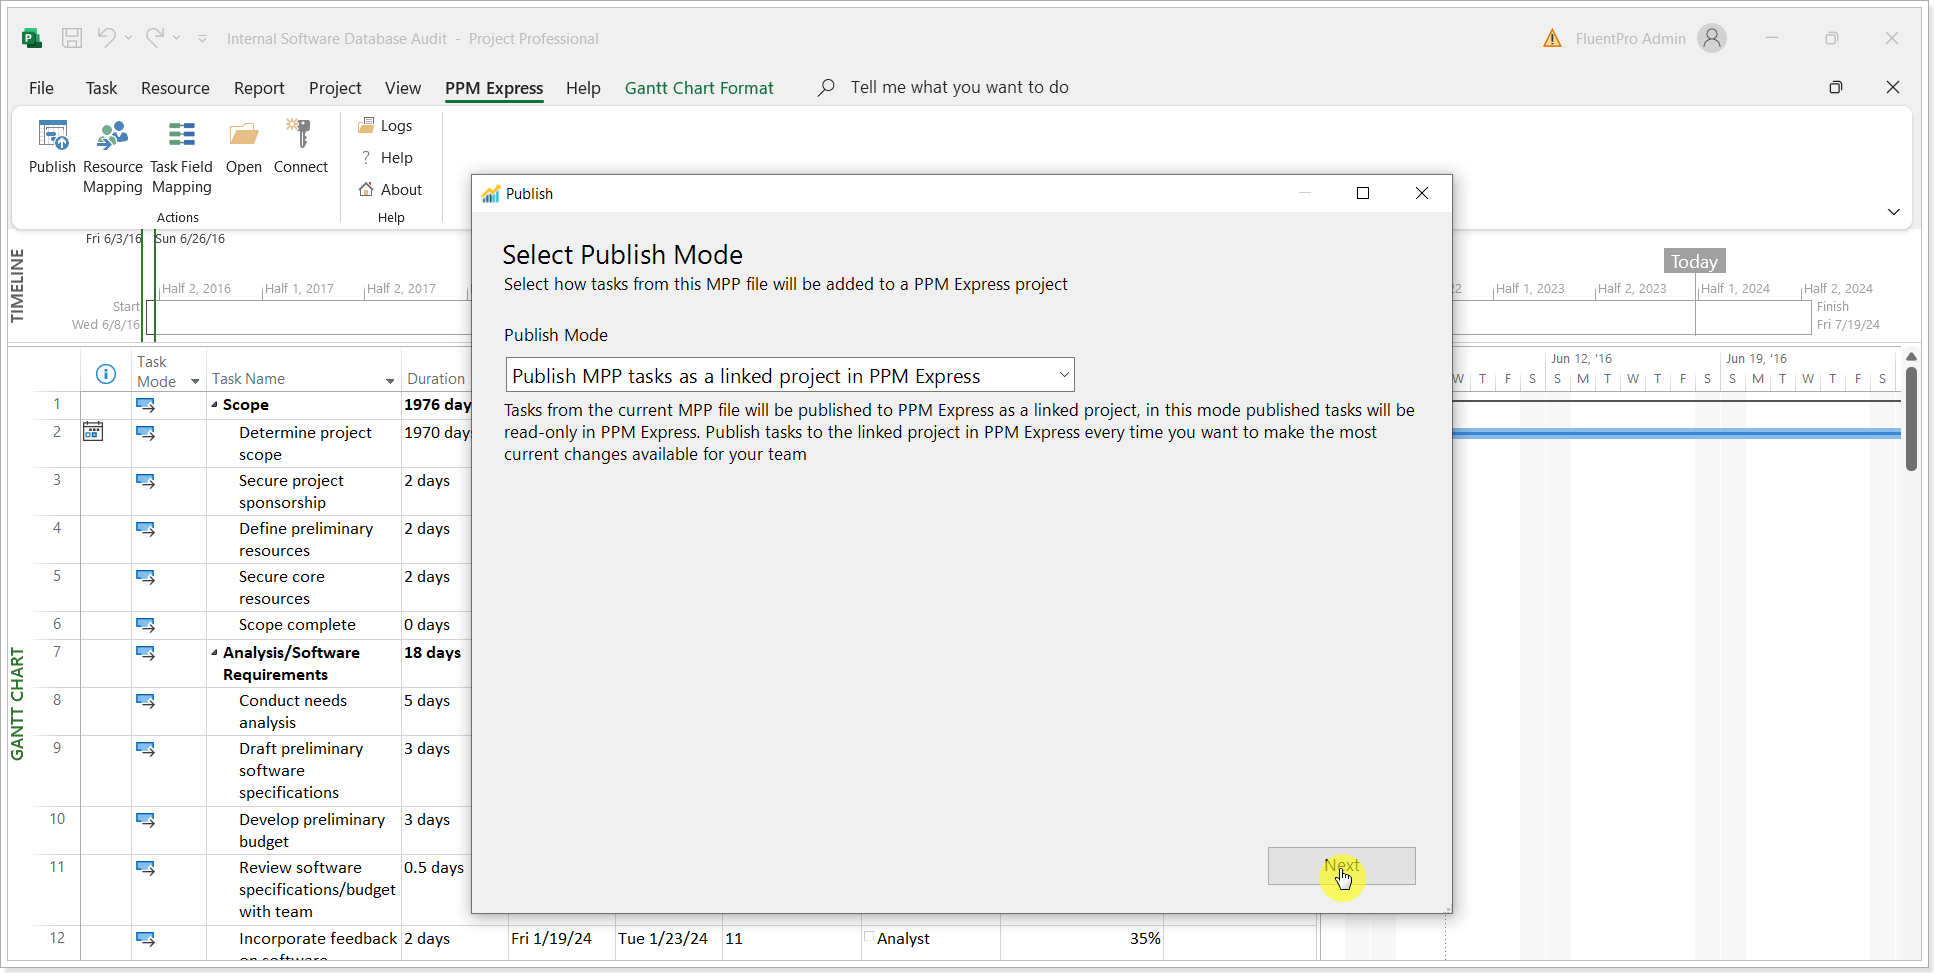
Select the Publish Mode: Publish MPP tasks as a linked Project in PPM Express is selected by default.
It is also possible to synchronize tasks from the MPP file as PPM Express tasks without creating a new Project or linking the MPP Project to the PPM Express Project. For more details, please refer to the Import MPP tasks to PPM Express Tasks article.
3. If you want to publish the Project to an existing PPM Express Project, select the required Project from the list. In this case, a separate task page will be created for the existing Project in PPM Express to display the tasks from Project Desktop.
Also, you can type the Project name and create a new Project to publish it to PPM Express (or copy the name from the .mpp file). In this case, a new Project will be created in PPM Express, and the task page will be created to display the information for the Project Desktop tasks.
Check the 'Update Project Start Date and Finish Date fields' checkbox if you want to update the PPM Express Project with the dates from the summary task. It is required to have Edit permission for the Project.
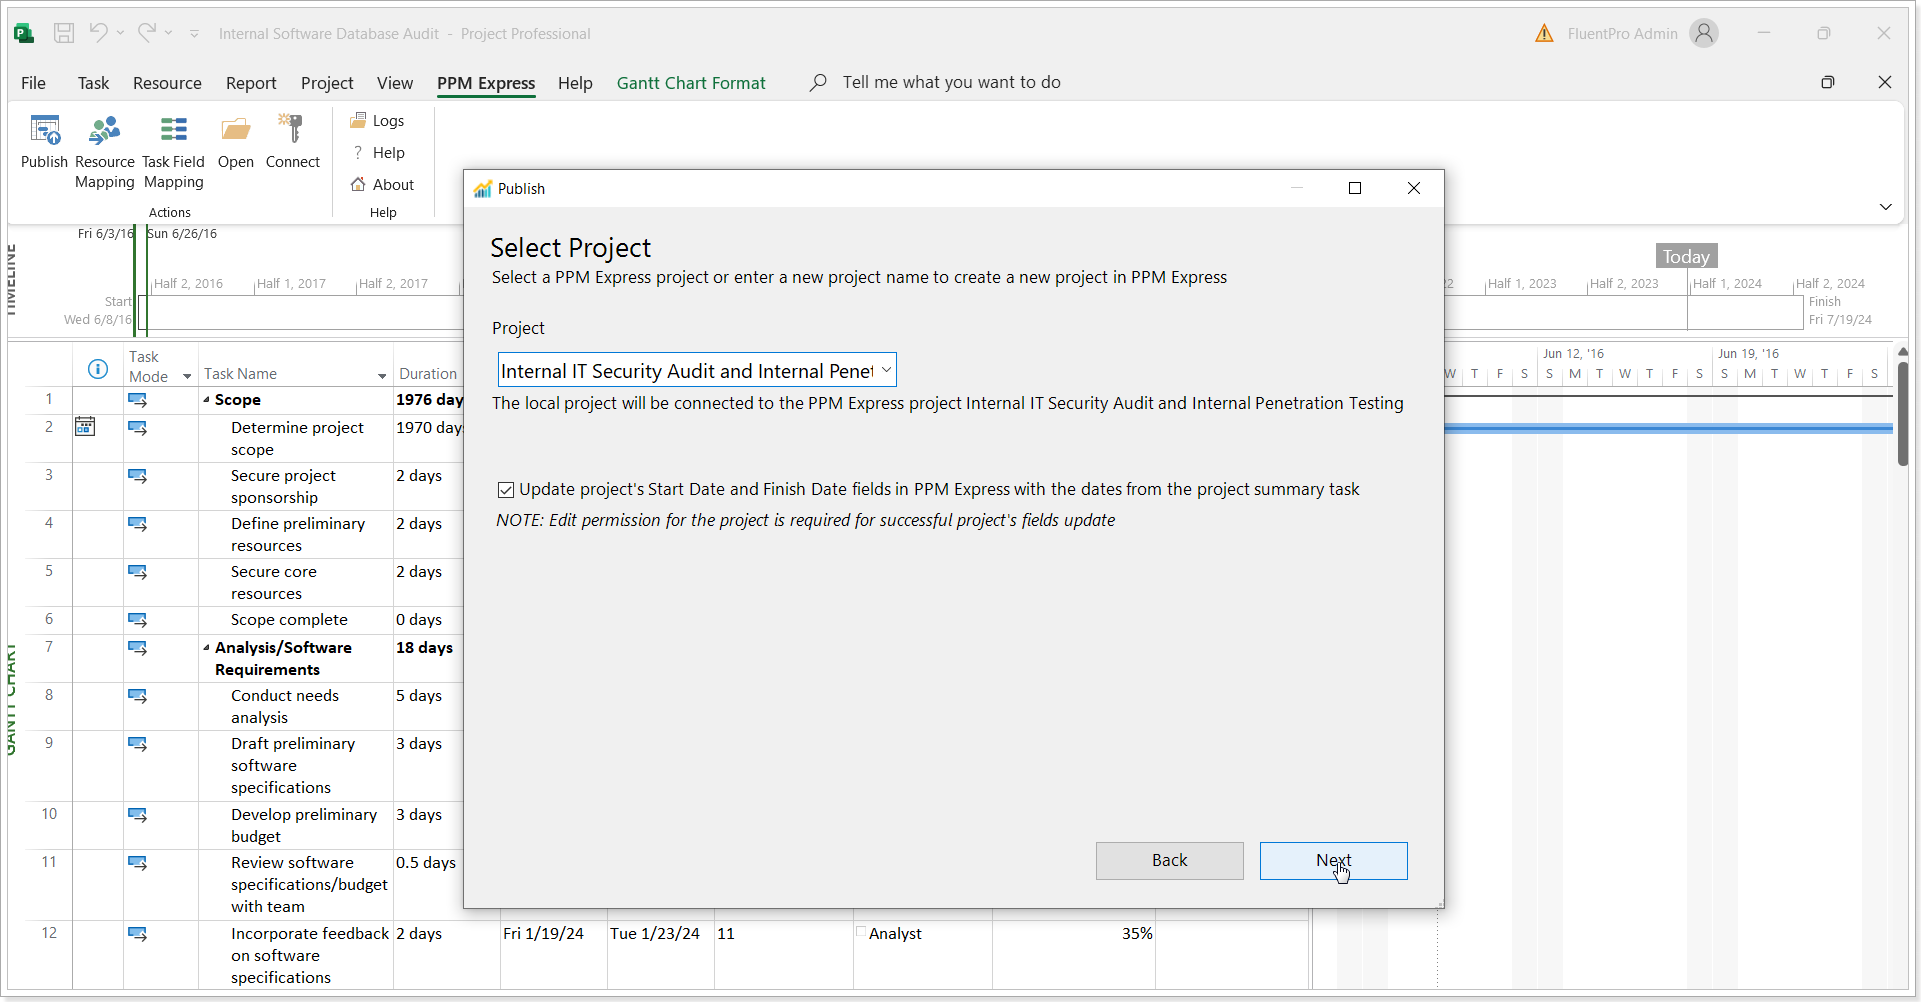
4. Click Next.
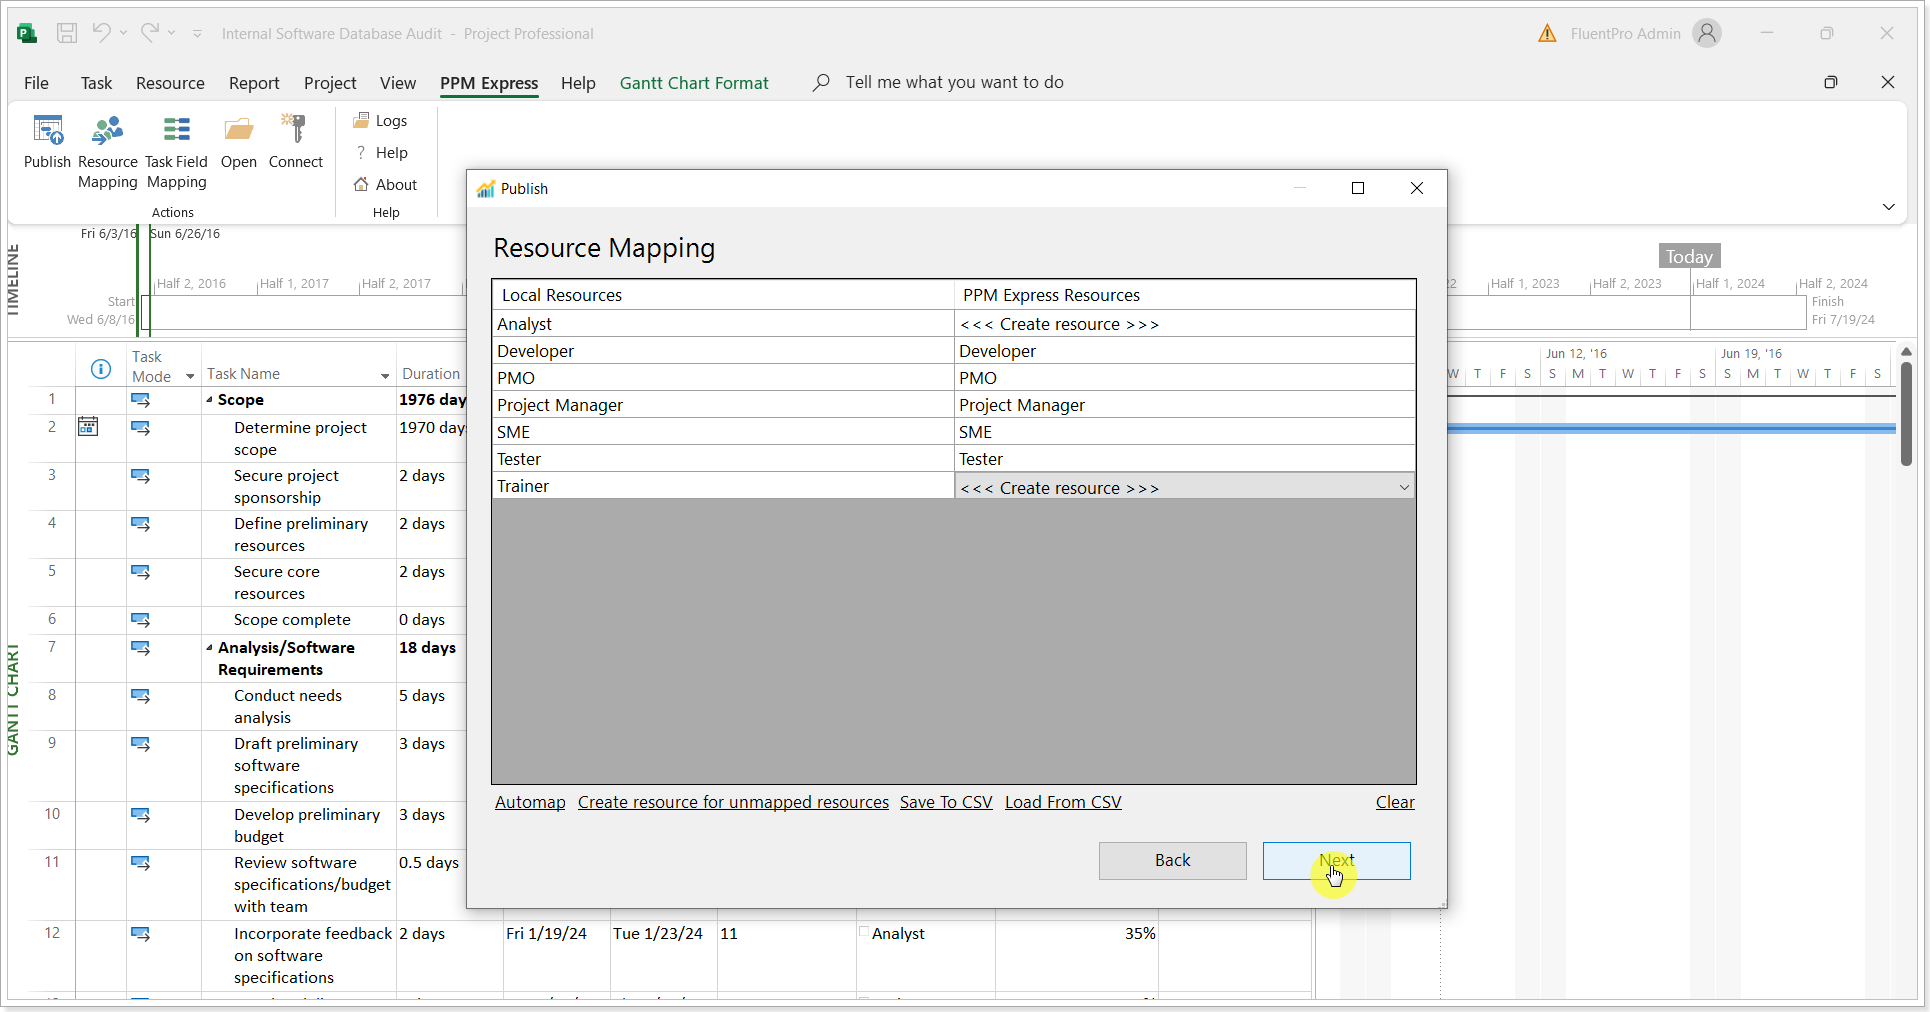
5. Next, perform resource mapping. There are several options available here:
- Automap. This option allows to automatically map existing resources from the .mpp file and PPM Express. This option can be used only on the condition that the resource display names and/or emails are the same in the .mpp file and PPM Express.
- Create resources for unmapped resources. If this option is selected, resources will be created in PPM Express on Project publish for all resources with no mapping.
- Save to CSV. This option is used to save the mapping to the CSV file. You can edit the mapping in the CSV file, it will also include the resource emails if any. When the mapping is performed in the CSV file, you can load it to the Resource Mapping page using the next option: Load from CSV.
- Load from CSV. This option is used to load the existing mapping file to the Resource Mapping page.
- Clear. This option will delete the resource mapping that you have created from this page.
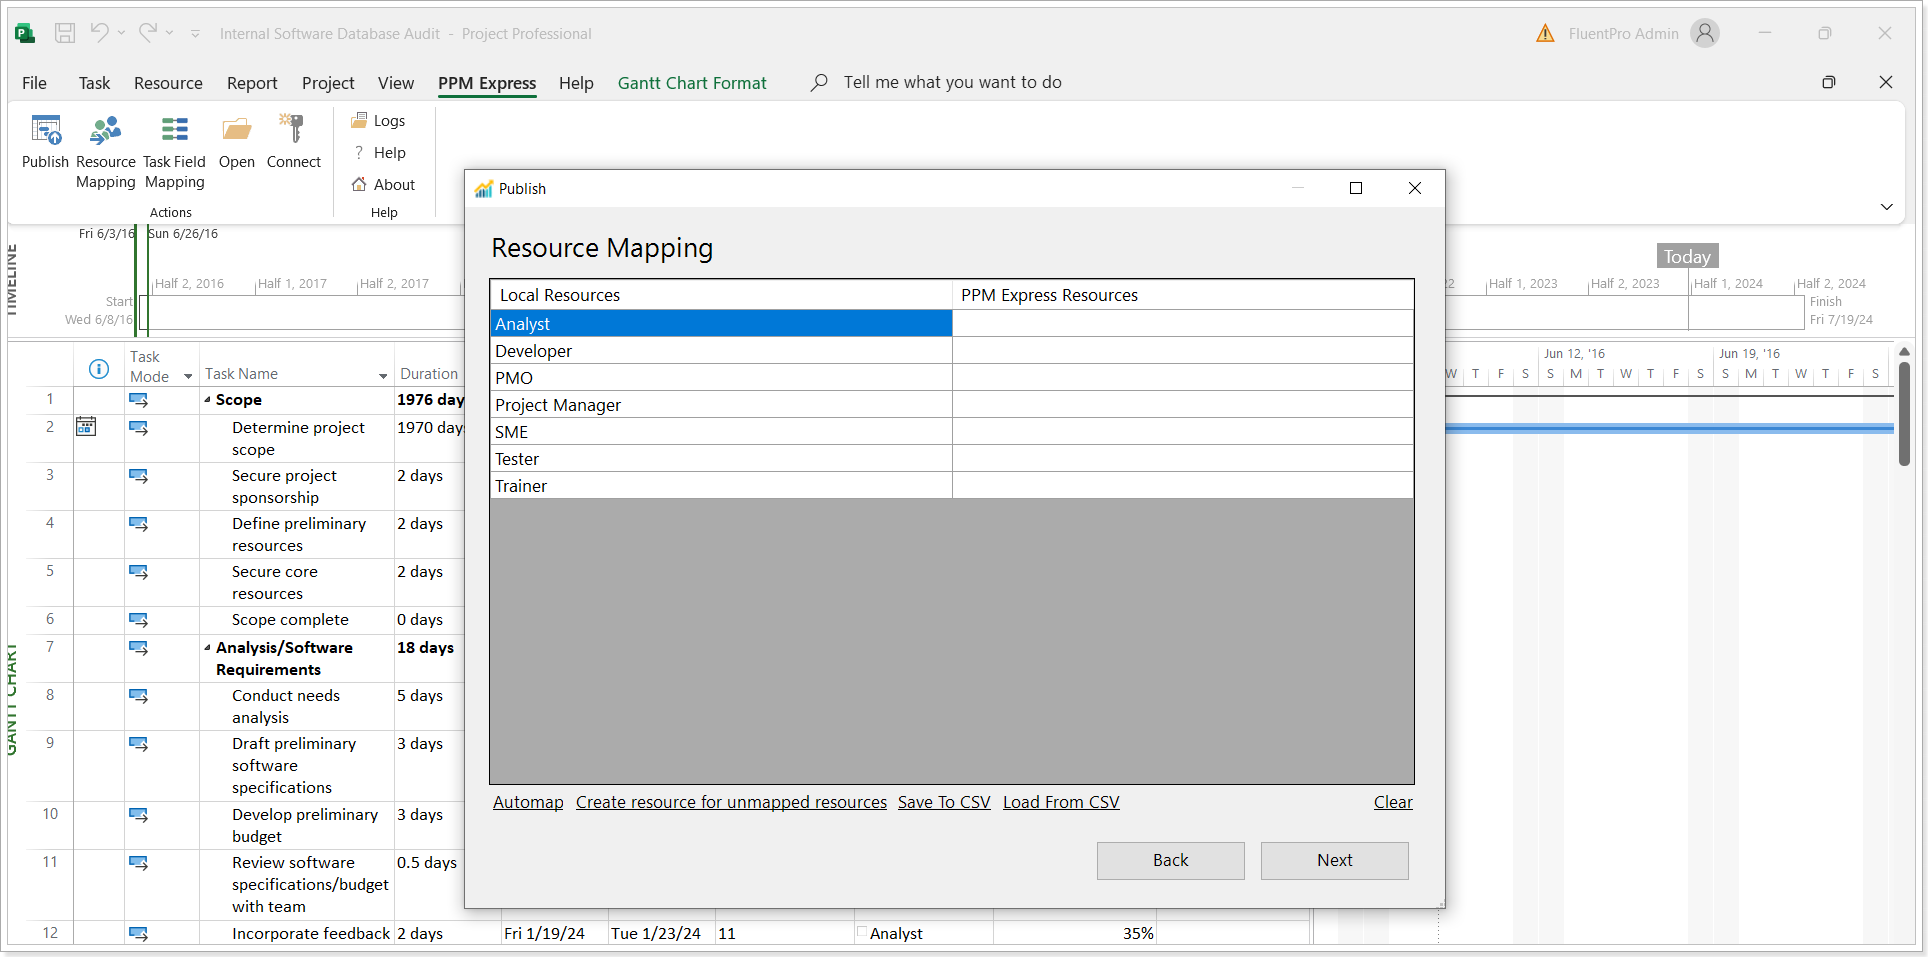
It is possible to manually select resources for mapping from the list of available resources in PPM Express.
6. Click Next when the resource mapping is ready.
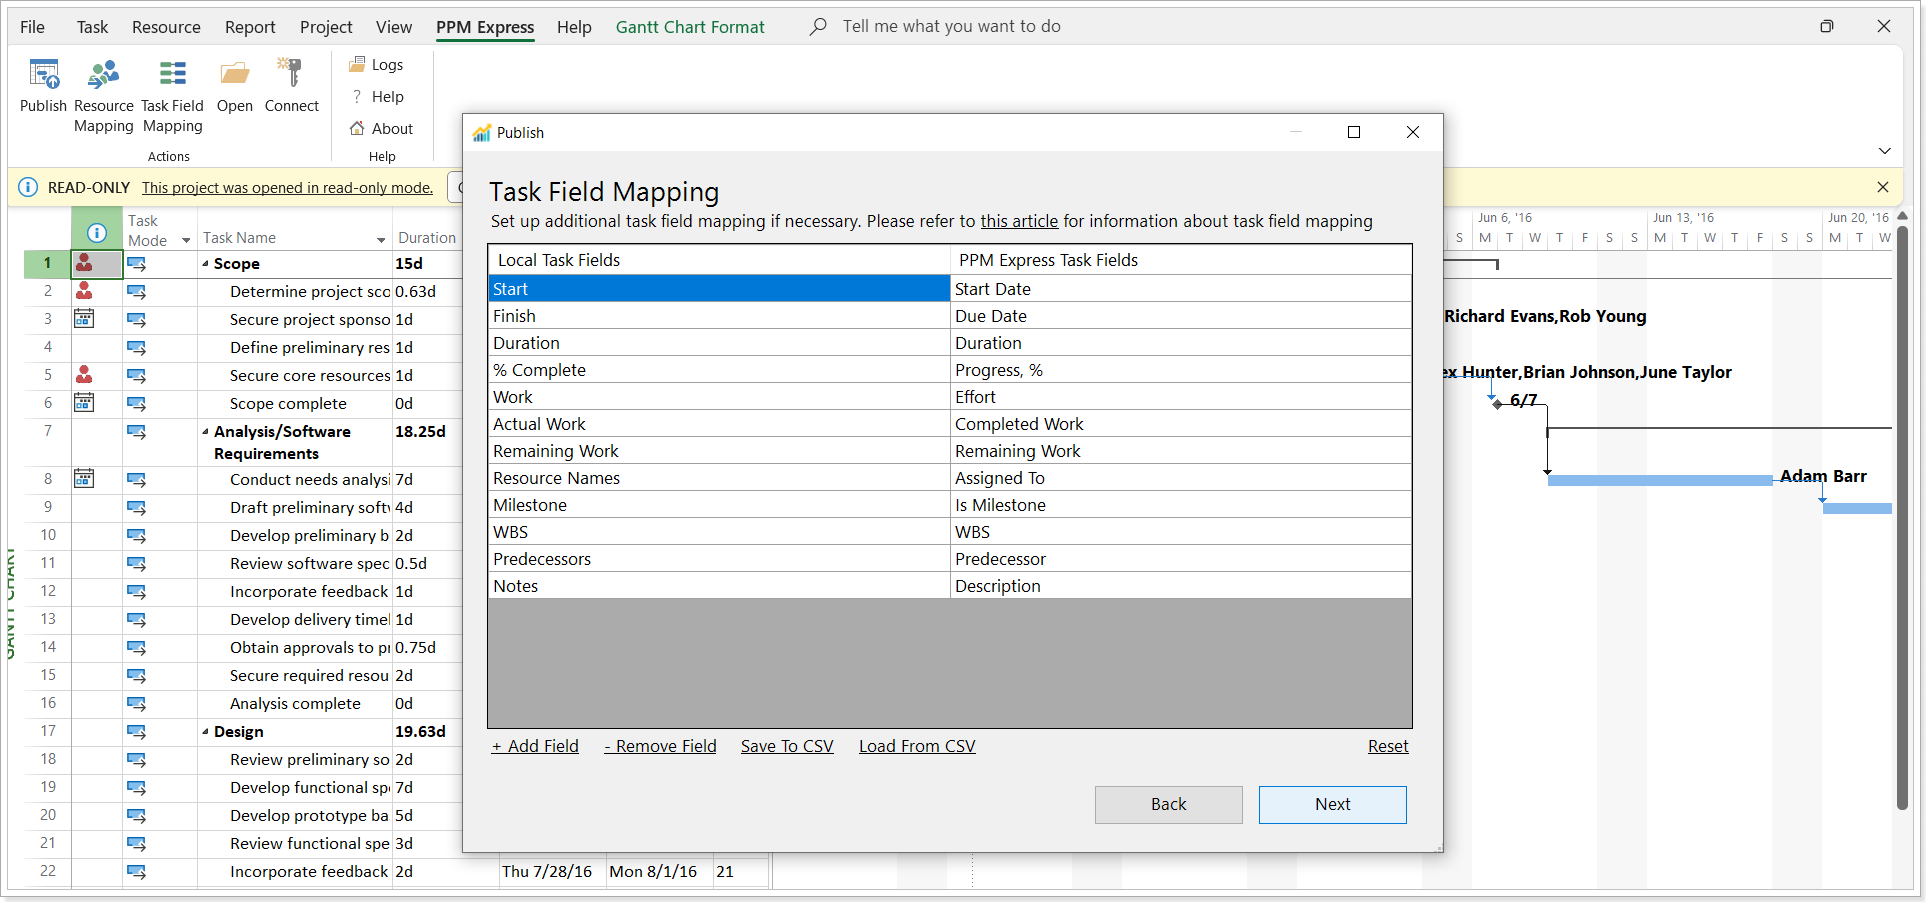
7. Perform task field mapping as required. The following options are available:
- Add Field.
- Remove Field.
- Save to CSV. This option is used to save the mapping to the CSV file. You can edit the mapping in the CSV file. When the mapping is performed in the CSV file, you can load it back using the next option: Load from CSV.
- Load from CSV. This option is used to load the existing mapping file.
Dependencies are also synchronized to PPM Express (Predecessors field in the mapping).
For more details, please refer to the Custom Field Mapping article.
8. Click Finish when the project publish process is completed. The Open button will open the published project in PPM Express.
The project will be created in PPM Express, you can review the tasks on a separate tasks page by clicking the "View Tasks from Project Desktop" button.

When the connection is established and the first publish is completed, the Projects from the .mpp file and PPM Express are linked. When you edit the Project in the .mpp file, you can publish the changes to PPM Express quickly.
Open the PPM Express tab -> Publish -> Next -> Resource Mapping -> Next. The Project will be published again, and the changes will appear in PPM Express.