
In this article, we will review how to register a PPM Express tenant.
Common rules
PPM Express tenant is a single instance of the PPM Express service shared by users within the same Office 365 tenant/GSuite or those registered via the Email option.
When the first user from an Office 365 tenant/GSuite or the first user via Email signs up, the PPM Express tenant is automatically registered. This user is granted Administrator permissions and full access to all PPM Express features.
User Registration and Licensing:
- Office 365/GSuite Users: Users from the same Office 365/GSuite tenant further registering in PPM Express will receive access to the same PPM Express tenant, initially created by the first user.
- Email Users: Users who sign up for PPM Express via the Email option can invite other users to their tenant by sending email invitations.
Permissions granted to such users will depend on the license type applied, Team Member or User.
User Roles:
- User License: Full access to manage resources, view all Projects, Programs, and Portfolios and edit Projects, Programs and Portfolios they own. Permissions are defined by the Administrator on the People Management page.
- Team Member License: Read-only access to all Portfolios, Programs, and Projects by default. The PPM Express administrator can grant Team Members permission to edit PPM Express tasks using 'Collaborate on' permission. On the People Management page, the PPM Express administrator may define what Portfolios, Programs, and/or Projects exactly these users have permissions to review and/or edit tasks for.
When users are registered in PPM Express, the PPM Express Administrator can change the license type and assign the licenses and permissions as required on the People Management page.
Data Center Selection:
During registration, you can choose where to host your data:
- US Data Center
- EU Data Center
Your data will be stored and processed in the selected region, ensuring compliance with organizational requirements.
PPM Express will direct you to the appropriate web page based on your location during the initial sign-up process (either to https://app.ppm.express/eu/ or https://app.ppm.express/us/ web page). When a new customer registers a new tenant, it is possible to additionally check and select the data center appropriate for the organization.
"Office 365" option
To register a PPM Express tenant using Office 365, perform the following steps:
1. Visit the PPM Express application site at https://app.ppm.express/signup
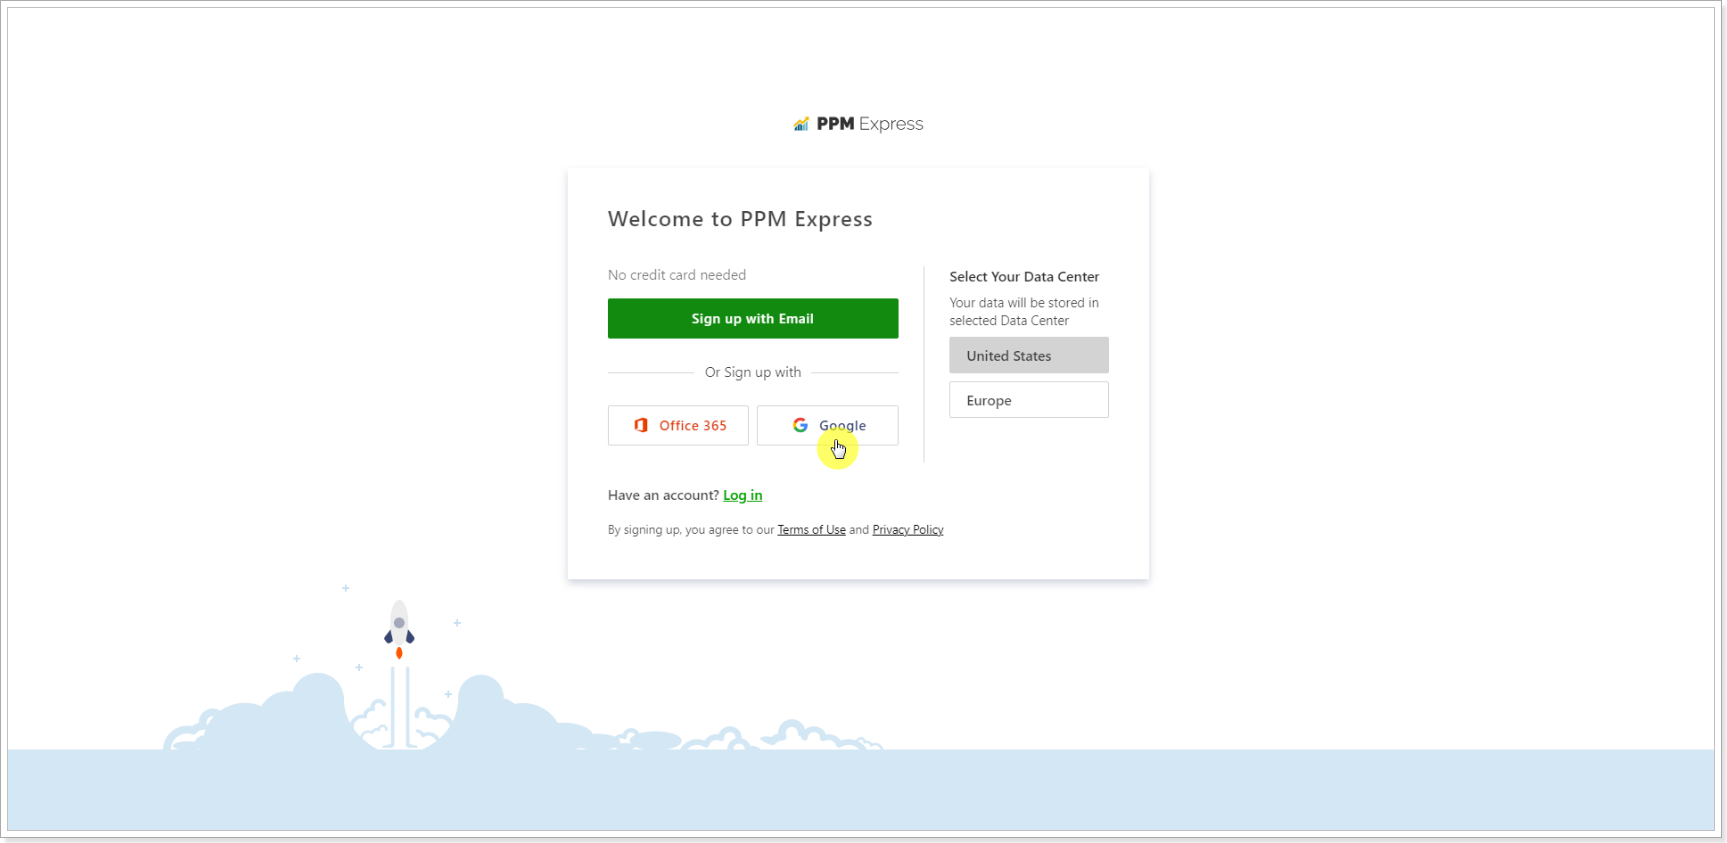
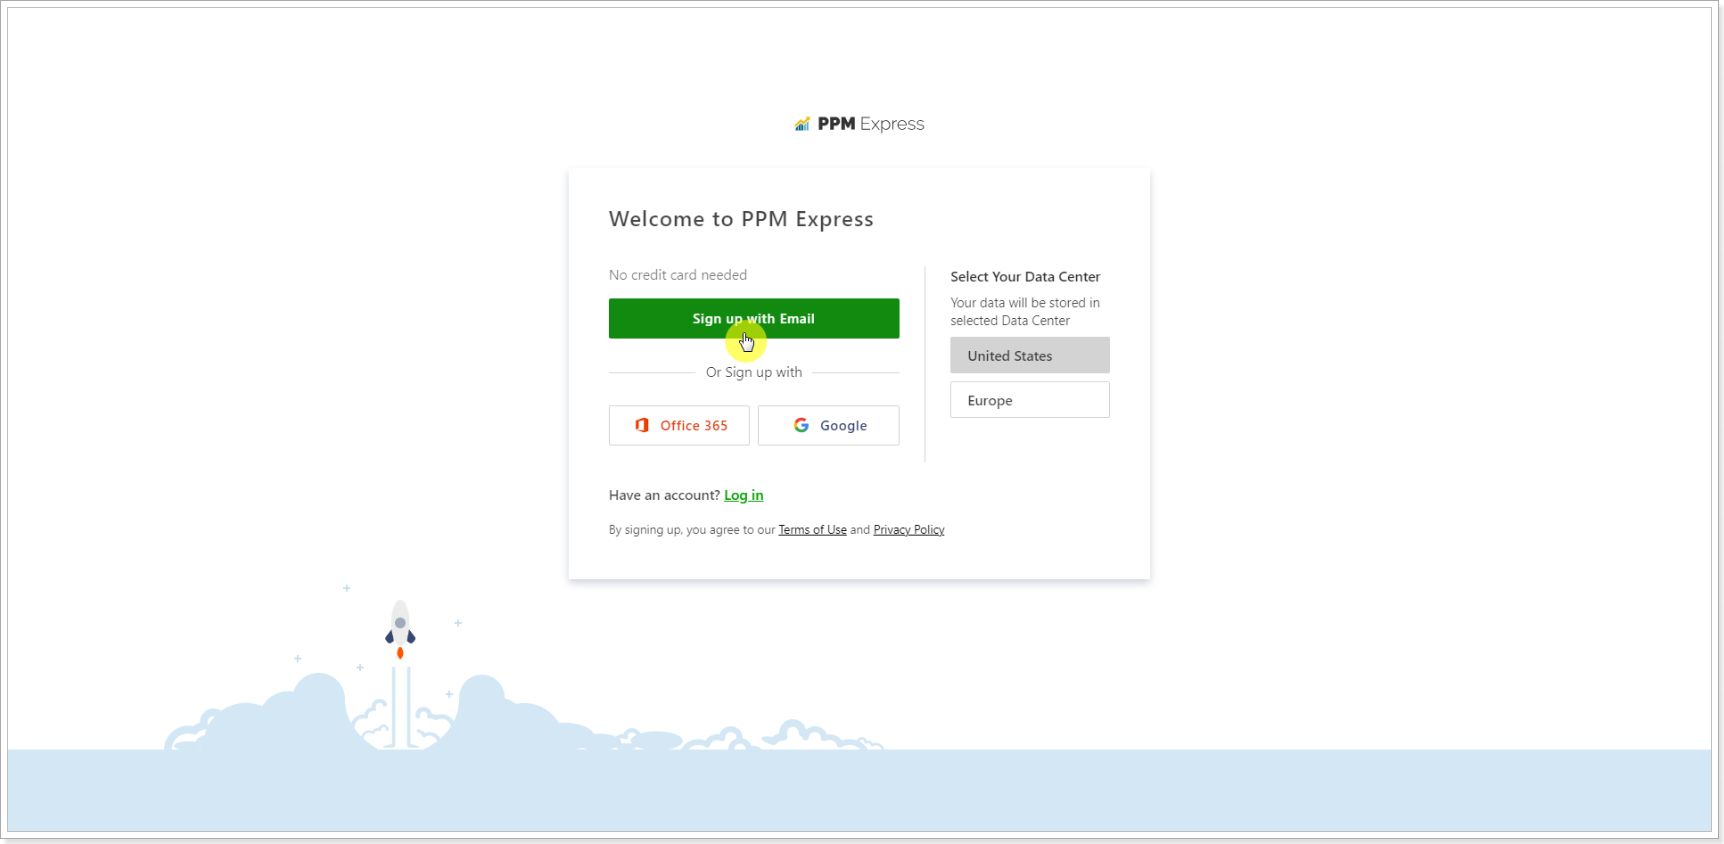
2. Now, you are redirected to the PPM Express landing page. Select the Sign Up with Office 365 Account option.
You can also select Data Center (US or EU) and register your PPM Express tenant by selecting Europe or the United States data storage.

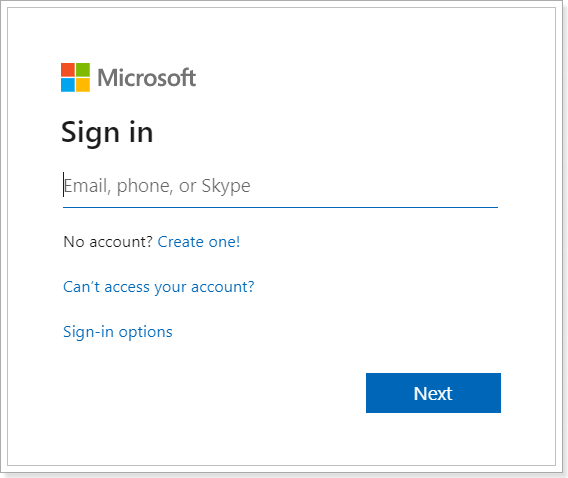
3. Select the account you will be using to authenticate to PPM Express.
4. Click Accept to confirm that you allow PPM Express to access your Office 365 account details.
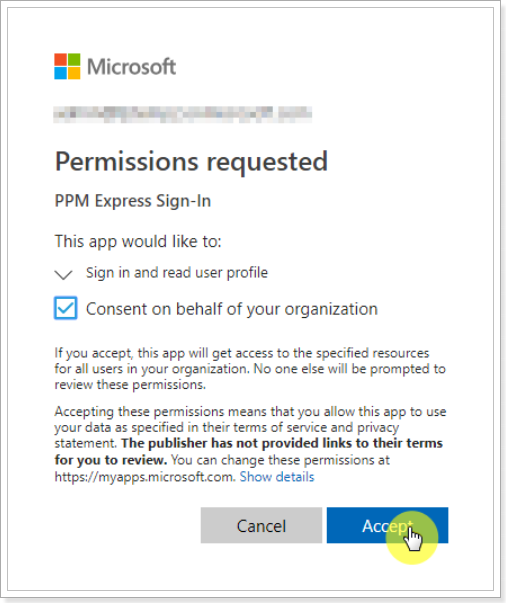
Global Administrator consent is not required by the PPM Express application. However, if, according to your organization's policy, the 'User consent for applications' settings are configured to request an administrator's review and approval of applications, it is required to grant Admin consent. Please refer to this article for the steps to grant Admin consent.
In this case, if you are using an account that does not have Global Administrator rights to register a new PPM Express tenant using an Office 365 account, the following window will be opened instead. It is required to grant Admin consent only once when registering a new tenant to allow the application to access the client's Entra ID (Azure AD) tenant within the requested scopes.

5. Specify all the details - Company name, Company website, Job title, Your Full name, Phone number.

You can switch plans to the Enterprise Ultra while using the trial to understand which one is better for you. Open the Billing page to manage your plans.
Congratulations, the PPM Express tenant is registered.
"Google" option
1. Visit the PPM Express application site at https://app.ppm.express/signup
2. Now, you are redirected to the PPM Express landing page. Select the Sign Up with Google Account option.
You can also select Data Center (US or EU) and register your PPM Express tenant by selecting Europe or the United States data storage.
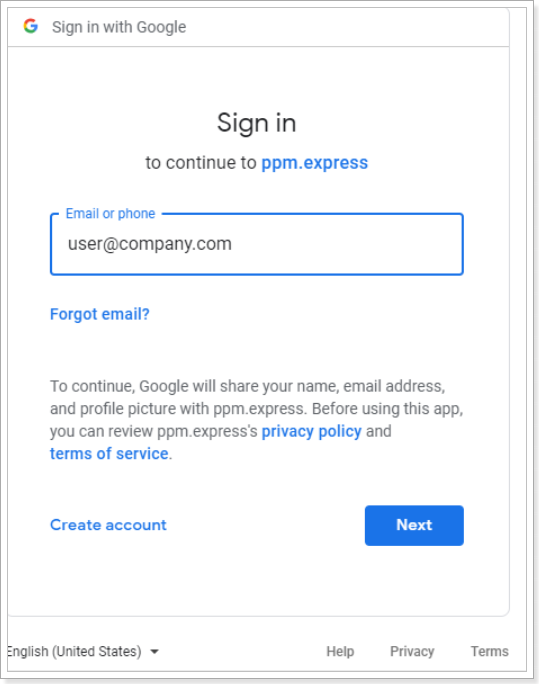
3. Sign in with your Google account. Enter your e-mail address and click Next to proceed.
4. Enter your password for your Google account. Click Next to proceed.
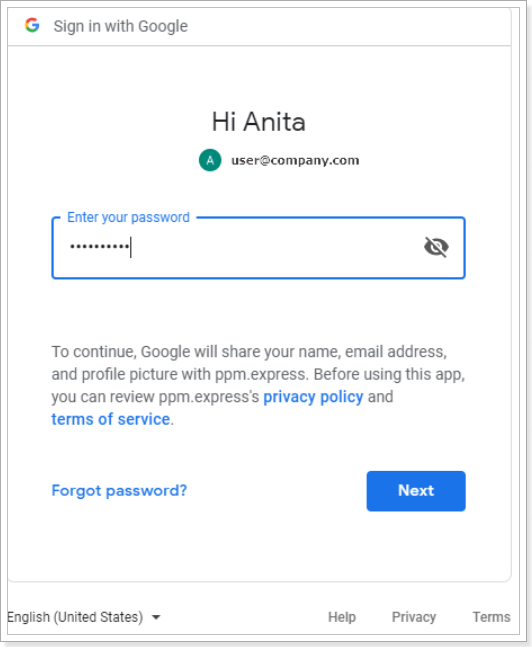
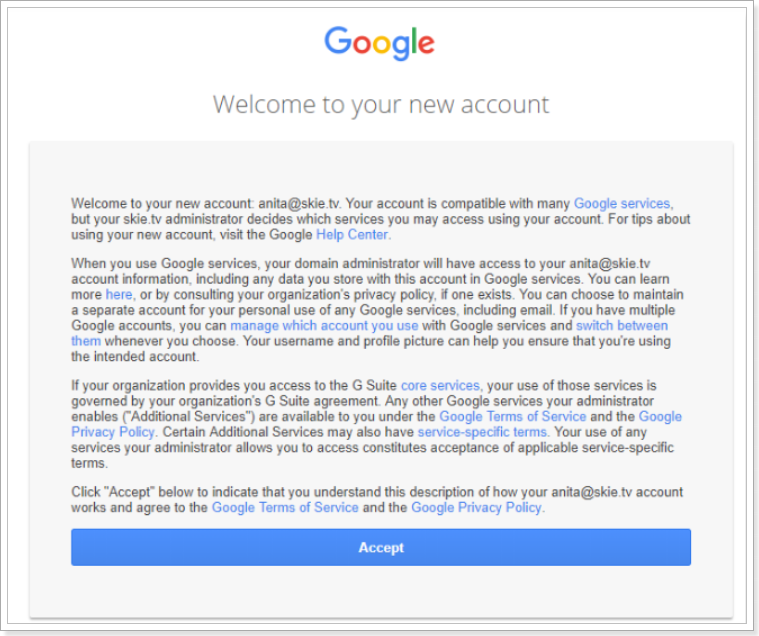
5. Click Accept if you allow the PPM Express app and Google to use your information in accordance with their respective terms of service and privacy policies.
6. Specify all the details - Company name, Company website, Job title, Your Full name, Phone number.

You can switch plans to the Enterprise Ultra while using the trial to understand which one is better for you. Open the Billing page to manage your plans.
Congratulations, the PPM Express tenant is registered.
"Email" option
1. Visit the PPM Express application site at https://app.ppm.express/signup.
2. Select the 'Email' option.
You can also select Data Center (US or EU) and register your PPM Express tenant by selecting Europe or the United States data storage.
3. Sign in with your Email account. Enter your e-mail address and click the 'Send verification code' button to proceed.

4. Open your mailbox and copy the code from the email you received from PPM Express.
Open the sign-up page again, enter the code, and click the 'Verify code' button. The code is valid for 5 minutes. If the code has expired, click the 'Send new code' button.
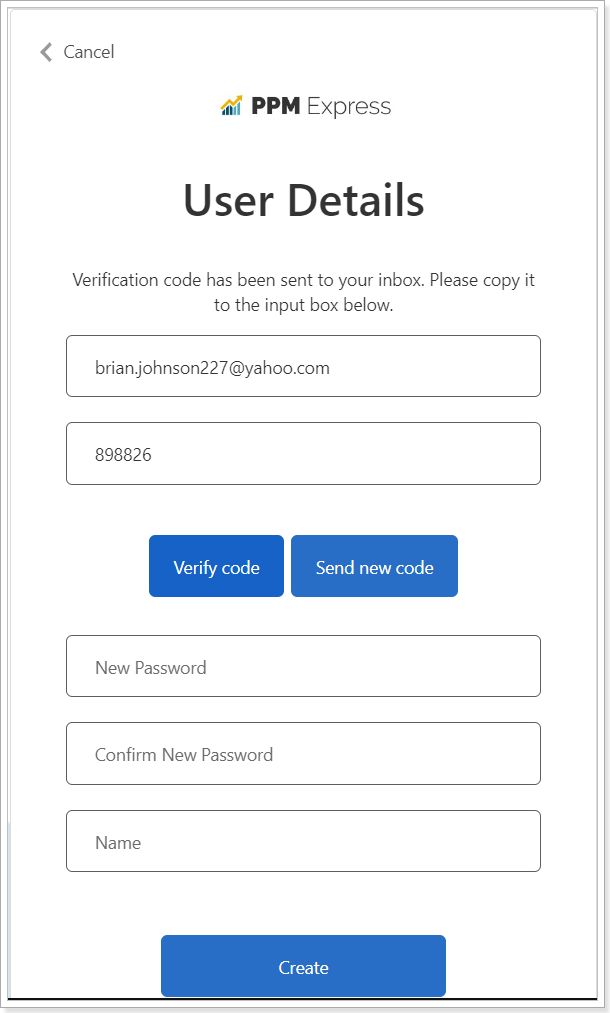
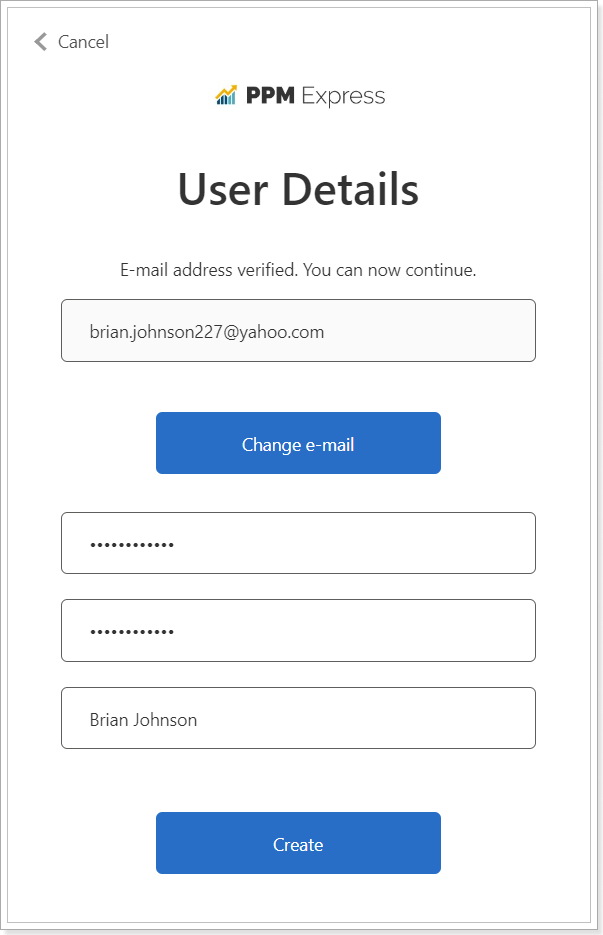
5. When the email verification is completed, create a password and type in your name. You can change your password and name later if needed.
Click 'Create'.
6. Specify all the details - Company name, Company website, Job title, Your Full name, Your Phone number.
The enterprise plan will be applied to your tenant. Open the Billing page to manage your plans.
Click the 'Register' button.

Once the tenant is registered, you can add external PPM connections, import Projects, and add Resources. Please find more details in the following article:
How to add Microsoft Planner connection and import/link projects
How to add JIRA connection and import/link projects
How to add Project Online connection and import/link projects
How to add VSTS/Azure DevOps connection and import/link projects